Introduction
Stained RTA cabinets instantly add warmth and elegance to your kitchen, but do you know how to stain new kitchen cabinets? If not, don’t worry, we are here to help! RTA cabinets are a terrific choice for this type of DIY project and this step-by-step guide will lead you through the process of how to stain wood kitchen cabinets. Let’s dive in!
Step 1 - Stain Selection and Project Preparation
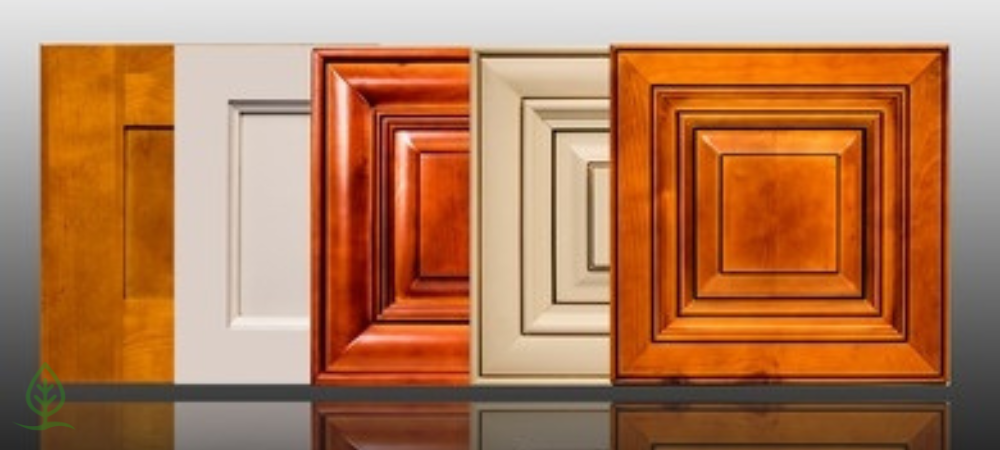

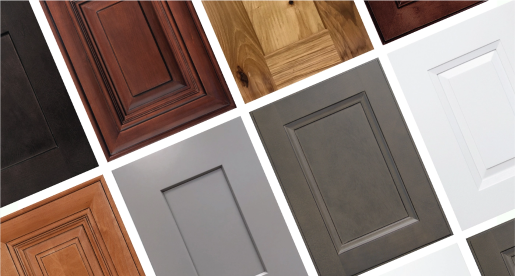
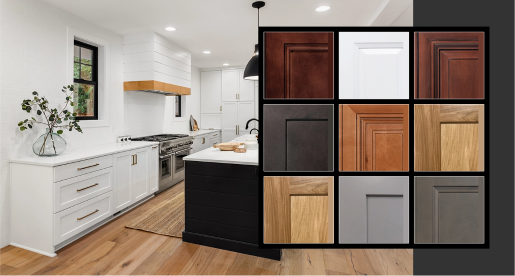
The first step in this process is to choose a stain. Now, you will of course have to select a darker shade stain than the original shade of your RTA cabinets. This will make the room appear darker, however if done correctly, it will create an inviting, cozy look and feel.
Once you have chosen the shade of stain for cabinets, it is time to get them prepped for their transformation! To get the wood ready to stain and for the best application, you will need to start by removing any cabinet doors or drawers that have already been installed. If you have not yet put your ready-to-assemble cabinets together, you can skip this step!
After that, you are going to want to prepare the surface of the wood for the stain for cabinets. To do so, simply sand the surface of all the cabinets, making sure to use a light hand so as not to damage the wood. We recommend using 100 or 150-grit sandpaper on your RTA cabinets, however, you can also use an electric sander at a low setting if you have one handy. Please note, you should always sand the wood in the direction of the natural wood grain.
Step 2 - Clean The Surfaces


After you have sanded the surface of the ready-to-assemble cabinets, you can move onto the next step! Clean each cabinet door and drawer thoroughly after sanding, then once everything has been cleaned you can go in for a second round of sanding. The second time you sand, you can go in with a higher grit sandpaper, such as 220-grit sandpaper.
Once that round of sanding is complete, apply a wood-specific conditioner to your RTA cabinets, which will bring out the natural shine of the wood species. When applying the wood conditioner, make sure you are following the application steps for the specific conditioner you have purchased. Plus, be sure to let it sit until it is fully dry before moving on with the process!
Start with an Order sample, end with a Cabinet masterpiece.
Step 3 - Apply Stain and Lock It In


Once the above steps are done, you are ready to stain cabinets! When applying stain for cabinets, work in sections, tackling the biggest sections first. Once the stain has been applied to these large sections of cabinet doors and drawers, use a soft rag to work the stain for cabinets into the wood. This will be sure that the stain is applied evenly and reaches any hard to reach nooks and crannies.
Furthermore, when applying stain for cabinets onto the wooden slabs, start with a small amount and add more as needed. The more stain that is applied, the more the wood will absorb, which could result in an uneven color distribution. We recommend using an oil-based stain for cabinets, as it is easier for the wood to absorb and penetrate deeper into the material than a water-based stain for cabinets.
Step 4 - Lock in The Stain on RTA Cabinets


When every cabinet door has been stained, it is time to lock it in! Simply use a generous amount of top coat to finish the project. This will increase the amount of time your wood stain will last, so you can rest assured your efforts aren’t in vain!
Nowadays we do see woods that patch up the combination directly with the cabinets and don't need much effort just a touch up and they are ready for fittings in the kitchen as cabinets. Such wood color includes hickory shaker cabinets, which is considered to be a choice of people looking for new cabinet installation
Pro Tip: Apply two coats of the topcoat sealer for the best results. In addition to making the staining kitchen cabinets last longer on your ready-to-assemble cabinets, the topcoat also protects against damage such as scratches and dings that may pop-up with regular use.
Why Buy RTA Kitchen Cabinets with Kenyon Creek Cabinets?
At Kenyon Creek Cabinets, our goal is to empower you with the knowledge and resources needed to craft the kitchen of their dreams, such as finding the best RTA kitchen cabinets. From design services to inspiration, we are here to support you during the entire project. Plus, we share our expert tips and tricks!
Our RTA cabinets are crafted from the highest quality materials at an affordable price. In addition, we provide lightning-fast shipping (in 3 business days) so you can start your remodel in no time! Our quality craftsmanship ensures that your stained cabinets remain looking gorgeous for years to come, even standing up to daily wear and tear.
Each kitchen is unique and so is a kitchen renovation project! We can take your requests for dimensions, storage, unique finishes, and styles of RTA cabinets into account when creating your kitchen design.
Kenyon Creek Cabinets is happy to offer Free Kitchen Design solutions and anyone interested with sample cabinet doors. This gives you the unique chance to see how a style of RTA cabinets looks in your space before making your final selections.
Final Thoughts
Staining kitchen cabinets is a fantastic way to transform your kitchen's aesthetic, adding warmth, character, and a touch of your unique style. Whether you're aiming for a rustic, modern, or traditional look, the process of staining kitchen cabinets & RTA cabinets allows you to achieve the desired finish while preserving the natural beauty of the wood.
We've explored the essential steps involved in staining kitchen cabinets, from preparation and sanding to the application of the stained cabinets and protective finish. By following these guidelines and taking your time, you can achieve professional-quality results that will make your kitchen the envy of your friends and family!
Remember, staining kitchen cabinets or stained cabinets is not just about enhancing their appearance; it's also about increasing their longevity and protecting them from wear and tear. With the right color stains for cabinets and finish, you can enjoy your beautiful cabinets for years to come without needing to apply touch-ups or re-staining the wood.
So, whether you're embarking on a DIY project or seeking professional assistance, the journey of staining kitchen cabinets or ready-to-assemble cabinets is undoubtedly worth the effort. The result will be a kitchen that radiates charm, elegance, and a reflection of your style. Happy staining, and may your newly stained cabinets bring joy and functionality to your kitchen space for years to come!
