Introduction
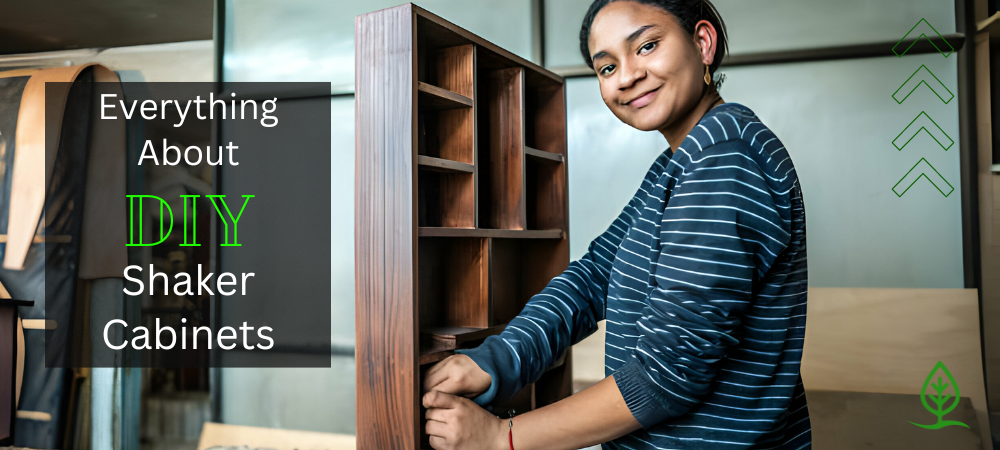
If you've ever dreamt of transforming your space with timeless elegance and a touch of flair, you're in for a treat. As we delve into building DIY Shaker cabinet doors, we'll be your guiding light. Before you pick up those tools and embark on this fulfilling project, join us on a journey where we share everything you should know. From essential materials to expert techniques, we've got you covered.
Let's unlock the secrets to crafting beautiful Shaker cabinet doors that enhance your home and reflect your unique style and skill. Get ready to start a DIY kitchen cabinet doors adventure that promises to elevate your space and crafting prowess!
Building DIY Shaker Cabinet Doors 101
Understanding the Shaker Style


Start the process by diving into the origins and characteristics of Shaker cabinets. Learn about the simplicity, functionality, and classic design elements that define this timeless aesthetic. Discover how Shaker cabinets can seamlessly integrate into various home styles, providing a clean and elegant look.
Supplies Needed For DIY Shaker Cabinets


Embarking on a DIY kitchen cabinet door project is exciting, and ensuring you have the right supplies of tools and kitchen cabinets hardware is vital for a successful result. Here's a comprehensive list of supplies you'll need to kickstart your DIY doors project:
- Wood Material: Choose a high-quality wood species that fits your aesthetic preferences and requirements. Common choices include oak, maple, cherry, or birch. Consider the thickness of the wood for durability.
- Table Saw: A reliable miter or table saw will be your best friend for accurate and clean cuts. These tools are essential for shaping the frame and panels of your DIY doors.
- Router: Invest in a router for creating decorative edges, profiles, and grooves on your cabinet door panels. This adds a professional touch to your DIY door project.
- Router Bits: Depending on your design, choose router bits for creating specific profiles and details on the cabinet door edges. Standard bits for cabinet doors include round-over, chamfer, and ogee profiles.
- Clamps: Secure your wood pieces with sturdy clamps during the assembly and gluing stages. They ensure a tight bond and alignment, creating a stable, well-constructed diy door.
- Wood Glue: Opt for high-quality wood glue to securely bond joints. Ensure the glue is suitable for the type of wood you're using and provides a robust and long-lasting hold.
- Finish Nails: Fasten the joints together using a brad nailer or finish nails. These tools are essential for attaching the frame components and panels securely.
- Sandpaper and Sanding Block: Use various sandpaper grits for a smooth, polished look and feel. A sanding block helps maintain flat surfaces and ensures an even finish.
- Wood Stain or Paint: Enhance the beauty of your DIY doors with a wood stain or paint. Consider your space's overall color scheme and style when making your selection.
- Sealant: Protect your cabinet doors from wear and tear by applying a clear polyurethane finish or sealant. This step adds durability and preserves the natural beauty of the wood.
- Cabinet Hardware: Complete your project with the proper cabinet hardware, including hinges, knobs, or pulls. Choose kitchen cabinets hardware that complements your DIY doors' overall design and style.
- Safety Gear: Prioritize safety with safety glasses, ear protection, and dust masks. Woodworking can generate dust and noise, so protect yourself accordingly.
DIY Shaker Cabinets Step-By-Step Guide
Creating DIY doors is a rewarding project that can elevate the look of your cabinets and add a timeless touch to your space. Follow this step-by-step guide to build your shaker cabinet doors:
Step 1: Gather Your Materials and Tools


Ensure you have all the necessary materials and tools, including wood, a miter saw, router, clamps, wood glue, brad nailer, sandpaper, wood stain or paint, polyurethane, and cabinet hardware.
Step 2: Measure and Cut the Wood


Measure and mark the dimensions for your DIY door frames. Use a table saw to make precise 45-degree cuts for the corners of the frame pieces. Double-check your measurements to ensure accuracy.
Step 3: Create the Frame


Assemble the frame by applying wood glue to the mitered edges and securing them together. Use clamps to hold the pieces in place until the glue dries. Reinforce the joints by using a brad nailer to add finish nails.
Step 4: Rout the Edges (Optional)


Use a router to craft a decorative edge inside the frame for a classic Shaker look. Standard profiles include a simple round-over or a chamfer. This step adds a distinctive touch to your DIY doors. In addition, you can channel a shaker by adding trim to flat cabinet doors!
Step 5: Cut and Insert the Panel


Measure and cut the panel material to fit within the assembled frame. Ensure a snug fit, leaving room for expansion. Apply wood glue to the frame, insert the panel, and secure it with finished nails around the edges.
Step 6: Sand the Surfaces


Smooth the surfaces of your DIY doors by using sandpaper. Start with coarser grit and gradually move to finer grits for a polished finish. Pay attention to corners and edges to achieve a professional look.
Step 7: Stain or Paint the Cabinet Doors


Choose a paint or wood stain that complements your overall design. Apply the stain or paint in even coats, following the instructions closely. Let the cabinet doors dry in between coats for best results.
Step 8: Apply Polyurethane or Sealant


Protect your DIY doors from wear and tear by applying a clear polyurethane finish or sealant. This step adds durability and preserves the color and finish of the wood. Follow the recommended drying times.
Step 9: Install Cabinet Hardware


Once the finish has dried, install the chosen kitchen cabinets hardware. Attach hinges, knobs, or pulls according to your design preferences. Ensure proper alignment and functionality.
Step 10: Mount the Cabinet Doors


Attach the completed Shaker cabinet doors to your cabinets using the appropriate hinges. Ensure proper alignment and adjust as needed. Step back and admire your handcrafted, custom DIY doors.
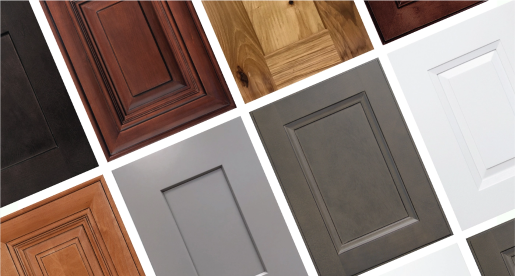
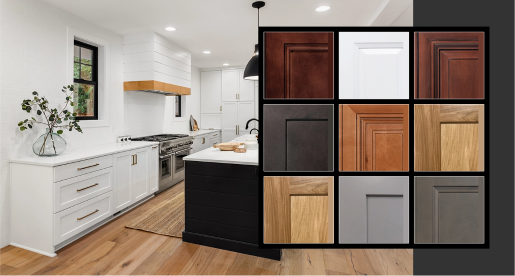
Start with an Order sample, end with a Cabinet masterpiece.
Choose Kenyon Creek Cabinets
Kenyon Creek Cabinets takes pride in crafting the best quality shaker-style cabinet doors with the utmost attention to quality materials and finishes. Our commitment to excellence is evident in our use of premium materials, ensuring that each cabinet meets the highest durability standards and serves your purpose of buying the best online cabinets.
When you choose Kenyon Creek Cabinets, you're opting for the best DIY doors featuring impeccable craftsmanship and finishes that enhance the overall appeal of your kitchen. Experience the luxury of durable construction and sophisticated detailing, making your investment in shaker cabinet doors a testament to consistent quality and timeless style. Enjoy lightning-fast shipping (ships in 3 business days) when you choose KCC!
Visualize Your Dream Kitchen
Free 3D Kitchen DesignConclusion
As we conclude this exploration into the world of building DIY Shaker cabinet doors, we hope you've found inspiration and valuable insights to fuel your creative endeavors. Crafting your shaker cabinet doors is more than a project; it's a journey of self-expression and transformation. Whether you're a seasoned DIY enthusiast or just starting, the satisfaction of seeing your efforts manifest in beautifully crafted Shaker-style doors is truly unmatched.
Every detail matters – from choosing the suitable materials to perfecting the techniques. Kenyon Creek Cabinets empowers you with the knowledge and confidence needed for success in your DIY doors project. As you embark on this venture, may your hands be steady, your creativity boundless, and the result a testament to your dedication. Here's to the joy of making and the beauty of personalized spaces!

